Quickstart
Getting started with your word-o-clock in a few simple steps.
First Power-Up
When you start your Word-o-Clock for the first time, follow these steps to get started:
Power Connection
- Connect your Word-o-Clock to a power source using a USB-C cable
- Use a modern, PD-capable USB charger (5V/2A recommended)
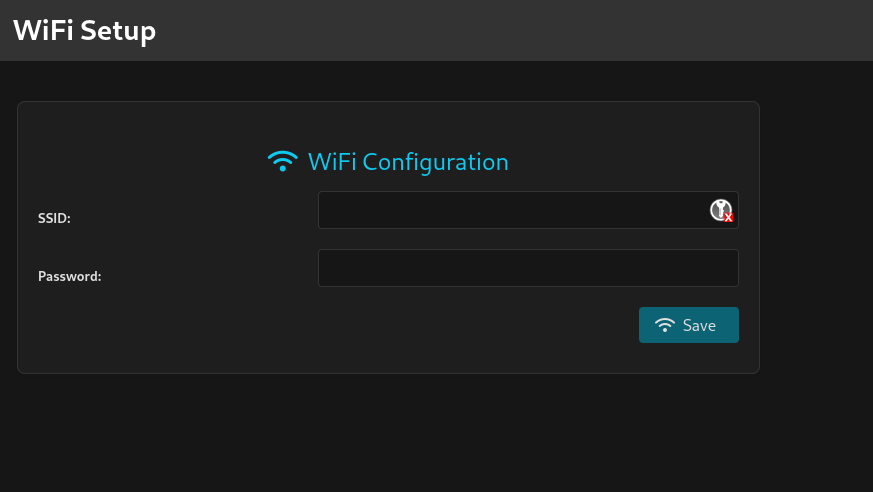
WiFi Setup
- The clock will create its own WiFi network named
word-o-clock - Connect to this network using the password:
w0Rd0Cl0cK - Open a web browser and navigate to
192.168.4.1 - You’ll see the WiFi setup page where you can enter your home network credentials
- After saving, the clock will restart and connect to your local network
- The clock will create its own WiFi network named
Accessing the Web Interface
Once connected to your network:
- Find your Word-o-Clock’s IP address by:
- Checking your router’s DHCP client list
- Using network discovery tools
- Looking for a device starting with “woc_<random_id>”
- Open that IP address in your web browser
Basic Configuration
Navigation

The web interface is organized into pages for different functions:
Available Pages
- Light (
/and/light): Control state, brightness, color, and auto-brightness - Time (
/time): Set time manually, daily light schedule, and NTP settings - System (
/system): Configure MQTT, clockface, and system settings - Firmware Update (
/update): Accessible via System → Update
- Light (
Dark Mode
- Light/Dark Mode toggle in the header
Saving Changes
- Toggle switches set to off typically take effect immediately
- When turning a switch on, additional parameters might be required before saving to apply the changes.
- Some changes may restart the device
Pages
Light Settings
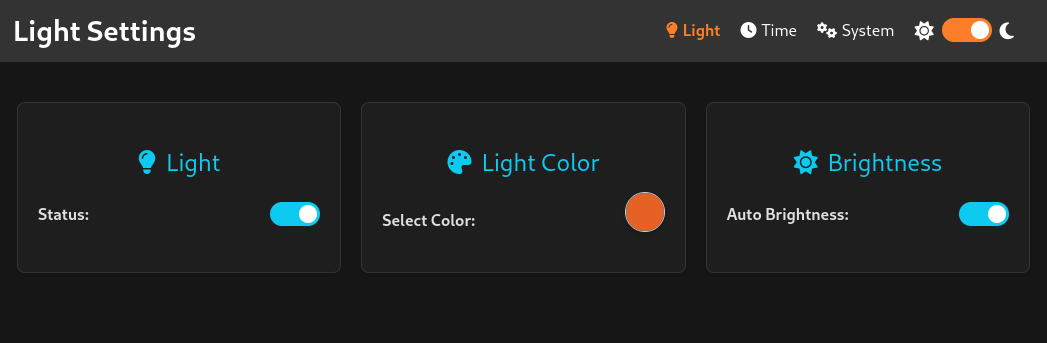 The Light page lets you control the appearance of your word clock:
Basic Controls
- On/Off toggle for the entire LED matrix
- Color picker for selecting any RGB color
- Brightness slider (0-255), which is only available when Auto Brightness is disabled.
Auto-brightness
- Toggle to enable/disable
- Uses built-in light sensor to automatically adjusts brightness based on ambient light
Time Configuration
 Configure how your Word-o-Clock keeps time:
Manual Time Setting
- Set the current time manually if needed
- Uses 24-hour format
- Syncs with internal RTC
- does not turn off NTP, if you want to keep your manual time turn off the ntp feature as well!
Light Schedule
- Set daily on/off times
- Uses 24-hour format
a schedule is only triggered by the start time, so creating a schedule in its scheduled time will not run schedule before the next day(changed in fw-1.1, the next on or off event will be executed)
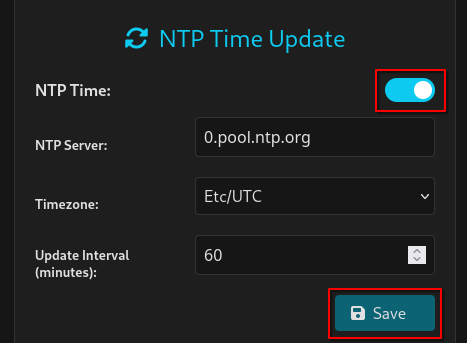
NTP Configuration
- Server: Default is pool.ntp.org
- Timezone selection from dropdown, default is Etc/UTC
- Update interval (in minutes)
- the system uses
1.pool.ntp.organd2.pool.ntp.orgas hard-coded backup servers
System Configuration
 Advanced configuration options:
MQTT Integration
- Enable/disable Home Assistant integration
- Broker settings:
- IP address or hostname
- Port, default is
woc - Optional username/password
- Topic prefix, default is
woc
- Auto-discovers in Home Assistant via Home Assistant MQTT integration
Clock Face Options
- Choose clockface format or language
- Toggle between standard/regional time format
- Currently supports German 11x11 layout, more clockfaces can be added
System Maintenance
- Link to firmware update web interface
- Factory reset option